Step 1: Log In and Navigate to Property Sites
To begin, log into your partner portal account. Once logged in, navigate to the left-hand side of the screen and click on “Property Sites.” This will direct you to the property management section. Here, click on the “Add New Property Site” button located in the top right corner. This is your starting point for creating a new property site for your listed property.

Step 2: Enter Property Address Information
In the popup window, enter the requested address information. Be sure to use the correct two-letter abbreviation for the state. After filling in all address fields, click the “Search” button to retrieve the MLS data for the property. If the property is located, the system will display the address and market status. Verify the information and click “Create Site” if everything is correct. Alternatively, you can click “Create Manually” to enter the property data manually.

Step 3: Complete the Property Form
You will be directed to a form with most details automatically populated. Here’s what you need to fill out:
- Listing Status: Select the current status of the listing.
- Site Template: Choose the template for the property site.
- Property Name: Enter an internal identifier for easy differentiation.
- Short Sales Pitch: Write a brief description showcasing the property’s most important features.
- First URL: Enter a name that will form part of the website URL. For example, if you enter “5555 Testing Street,” the URL will be “5555testingstreet.listed.com.”
Review all the automatically populated fields and make any necessary adjustments. Once everything is accurate, click the “Add Property” button.

Step 4: Upload Property Images
On the next page, you can upload up to five images or select external images provided automatically. Click the “Add Selected Files” button after choosing your images. The page will refresh, and you will see an interface for ordering images.
- Move Up and Order: Use these links to arrange the order of the images.
- Delete: Remove any images you don’t want.
- Delete All Images: Start over with your image selection if needed.
Once you are satisfied with the image order, click the “Next” button.

Step 5: Specify Property Features
The following page displays an automatically generated list of property features. Select the features you wish to include on the website. You can also manually add any additional features that are not listed. After selecting all relevant features, scroll to the bottom and click “Next.”

Step 6: Choose a Layout and Preview the Site
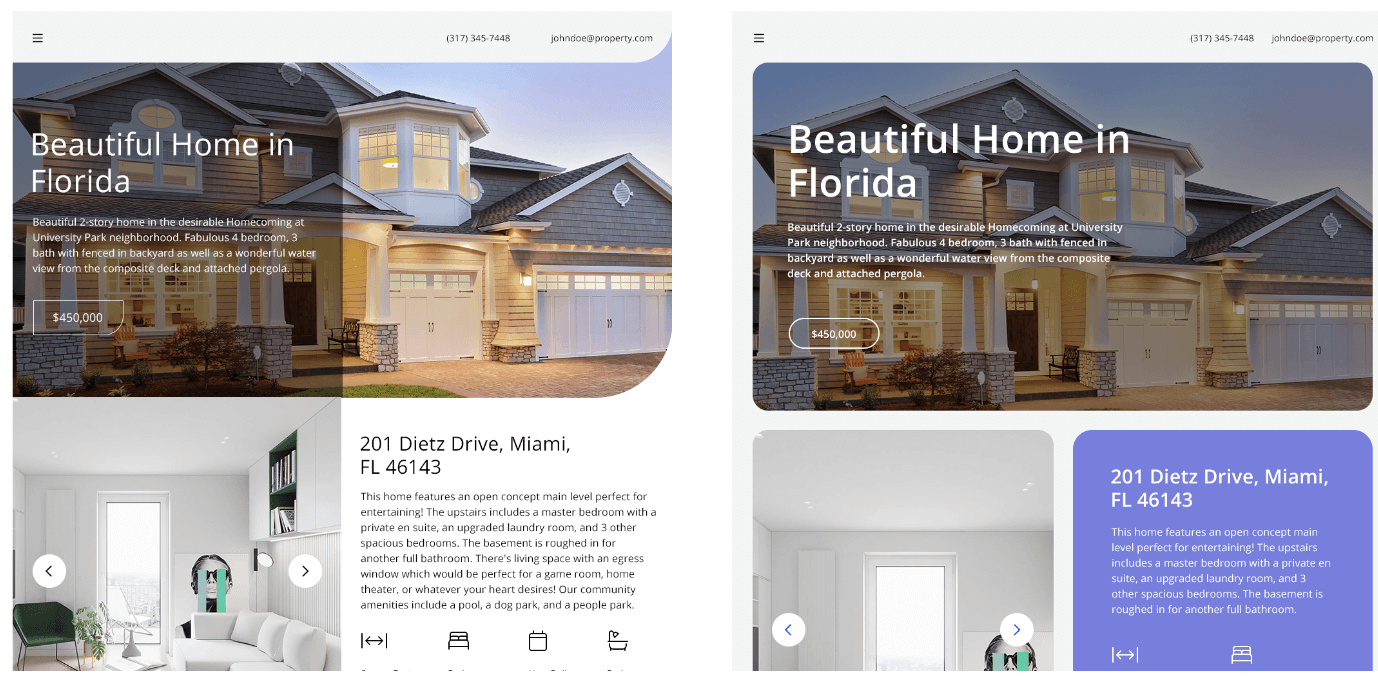
You will then be presented with several layout examples. Choose the layout that best suits your property and click “Select Layout and Preview Site.” A new tab will open, displaying your live property site. If you need to make any corrections, use the existing tab to navigate back and make changes.

Step 7: Print or Download the Brochure
Finally, navigate to your new website using the generated URL. Locate the “Print Brochure” navigation item and select your preferred layout from the options provided. You can then choose to either print the brochure or download it as a PDF.
Before Sharing the Property Site
- Compare the address, listing status, and displayed details with the source information.
- Review the photographs and confirm your organization can use them.
- Check the page on a phone and desktop, including links, contact details, and the brochure preview.
- Assign someone to correct the page when the listing information changes.
A completed page is not evidence of better search rankings or a faster sale. Use the review to check that the material is accurate and ready to share.
For a more visual walkthrough, be sure to check out our step-by-step video guide. Additionally, we offer a webinar to provide further insights and answer any questions you may have about setting up property sites.
For more insights into effective property marketing, check out the Mortgage CRM solutions offered by BNTouch. Additionally, for broader marketing strategies, consider exploring resources like Moz for SEO tips and the BNTouch blog for digital marketing best practices.
Keep the published information current and use the recorded walkthrough to review any step that needs clarification.